When it comes to the world of cooking, especially baking, there are certain fundamental skills that every kitchen enthusiast should master. One such skill that might seem deceptively simple but is crucial for a wide range of recipes is knowing how to melt butter. Whether you're making a rich and flaky pie crust, a decadent chocolate cake, or a savory sauce, the proper way of melting butter can significantly impact the outcome of your dish.
First and foremost, it's important to understand the different types of butter available and how they can affect the melting process. There are salted and unsalted butters. Unsalted butter is often preferred in baking as it allows you to have more control over the salt content in your recipe. Salted butter, on the other hand, can add a subtle savory note, but it might throw off the balance if the recipe already calls for a specific amount of salt.
Now, let's dive into the various methods of melting butter. One of the most common ways is using a stovetop. Start by selecting a small, heavy - bottomed saucepan. Heavy - bottomed pans distribute heat evenly, preventing the butter from burning. Cut the butter into small, uniform pieces. This helps the butter melt more quickly and evenly. Place the saucepan over low heat. Low heat is key here because butter has a relatively low melting point, and high heat can cause it to burn rapidly, resulting in a bitter taste.
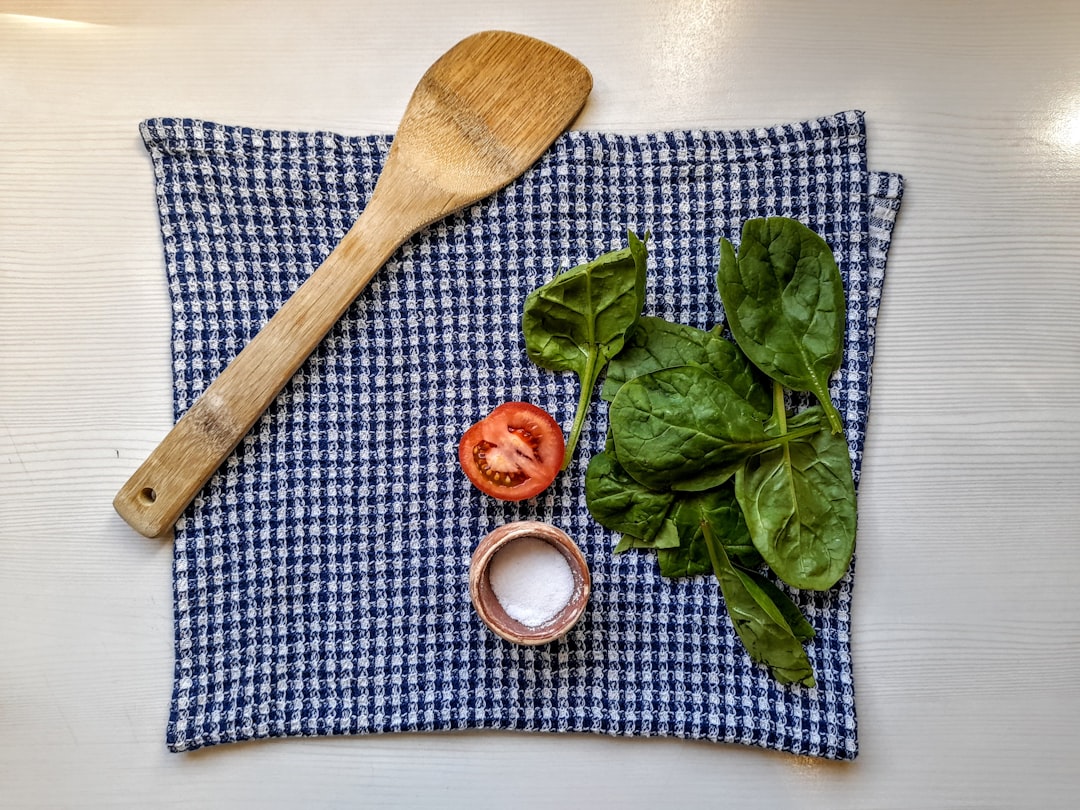
As the butter begins to melt, use a wooden or silicone spatula to stir it gently. Stirring not only helps the butter melt uniformly but also allows you to keep an eye on the melting process. Once the butter has completely melted, you can remove it from the heat. Be careful not to over - heat the melted butter, as this can cause it to separate into its milk solids and fat, which might not be ideal for some recipes.
Another popular method is melting butter in the microwave. This method is quick and convenient, especially when you're in a hurry. Place the butter in a microwave - safe bowl. Again, cutting the butter into small pieces will speed up the melting process. Heat the butter in short intervals, usually 10 - 15 seconds at a time. After each interval, take the bowl out of the microwave and stir the butter. This helps prevent over - heating and burning. Keep repeating this process until the butter is fully melted.
It's also important to note that melted butter can be used in different states depending on the recipe. Sometimes, you might need clarified butter. To make clarified butter, melt the butter as usual on the stovetop. As it melts, you'll notice a layer of milk solids settling at the bottom of the pan. Carefully skim off the foam on the surface and then pour the clear, golden - yellow liquid (the clarified butter) into a separate container, leaving the milk solids behind. Clarified butter has a higher smoke point and can be used for frying or sautéing at higher temperatures.
When using melted butter in baking, timing is crucial. For example, in some recipes, you need to let the melted butter cool slightly before adding it to other ingredients. If the butter is too hot, it can cause the eggs in the recipe to cook prematurely, resulting in a lumpy batter. On the other hand, if the butter has cooled too much and started to solidify again, it won't blend well with the other ingredients.
Moreover, the way you incorporate melted butter into your recipe can also make a difference. In some cases, you might need to whisk the melted butter with other wet ingredients first, such as eggs and milk. In other recipes, you might fold the melted butter gently into a dry ingredient mixture. Understanding these techniques will help you achieve the perfect texture and flavor in your baked goods.
In conclusion, melting butter is not just about turning a solid block into a liquid. It's an art that requires attention to detail, knowledge of the different types of butter, and an understanding of how to use the melted butter in various recipes. By mastering this basic cooking skill, you'll be well on your way to creating delicious and successful dishes in the kitchen.